Having trouble getting your mic to work on your Mac? This can be frustrating. The move towards remote working has meant that online calls and video conferences are ever more common and often necessary in today's world. There are a lot of different issues that can cause a microphone to not work properly. They vary depending on the type of mic and the software that you’re trying to use it with. This guide will cover the most common issues that Mac users encounter and their solutions.
Solution 1: Adjusting Microphone Settings
Solution 2: Resetting the PRAM/NVRAM
Solution 3: Creating a New Account
Solution 4: Turning on Dictation
Solution 5: Fixing App Permissions
This guide has been updated for the latest version of macOS (previously known as OS X), 10.15 Catalina. Follow the steps below to determine what the problem is and hopefully fix it:
Solution 1: Adjusting Microphone Settings
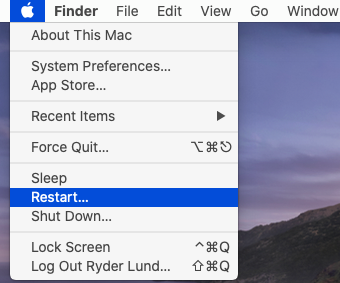
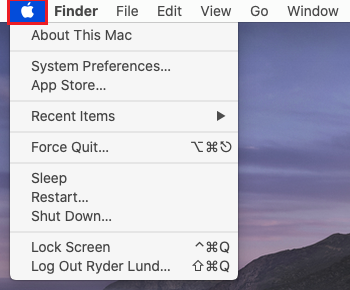
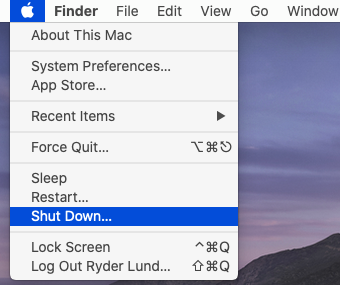
Step 1: Click the Apple icon present in the top left corner of the screen. A menu will appear as shown in the image on the right:
Step 2: Click on System Preferences.

Step 3: Under system preferences select Sound either by clicking it or by searching for it in the search text box.

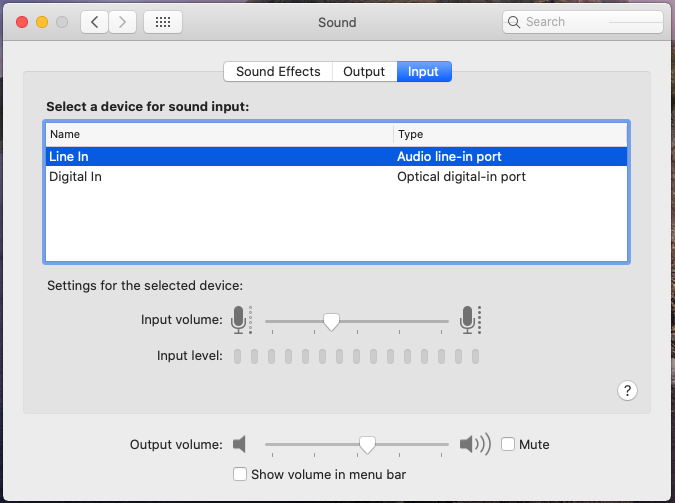
Step 4: Under Sound select the Input tab.
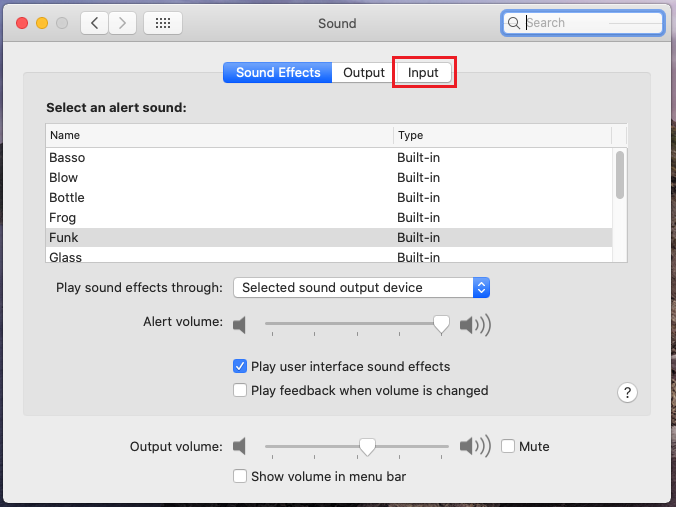
Step 5: The list of recording devices will appear. Make sure to select the device you are trying to use. If it’s the built-in mic, select “Internal microphone”. If it’s a USB mic or headset, it should be labeled as such. If you have a mic or headset plugged in to the line in port, select “Line in”.
Step 6: Try speaking into your microphone, and look for bars moving beside Input Level while you talk (see screenshot)
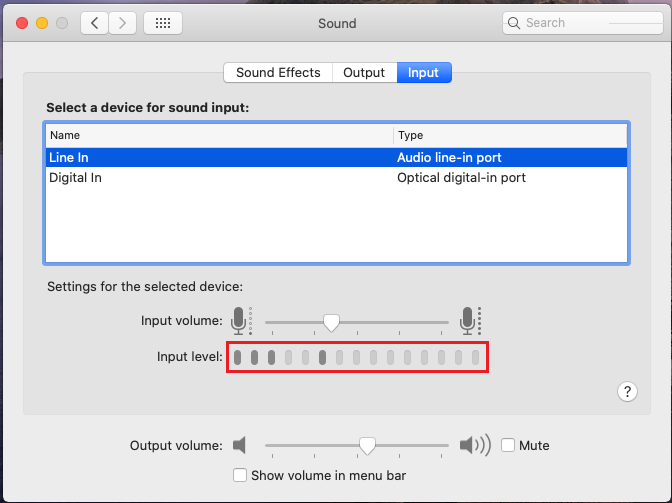
If the bars are rising while you are speaking that means your microphone is properly configured (what to do if my microphone still isn’t working, even though you say it’s properly configured? )
If the bars are not rising while you are speaking into the mic, keep following the instructions.
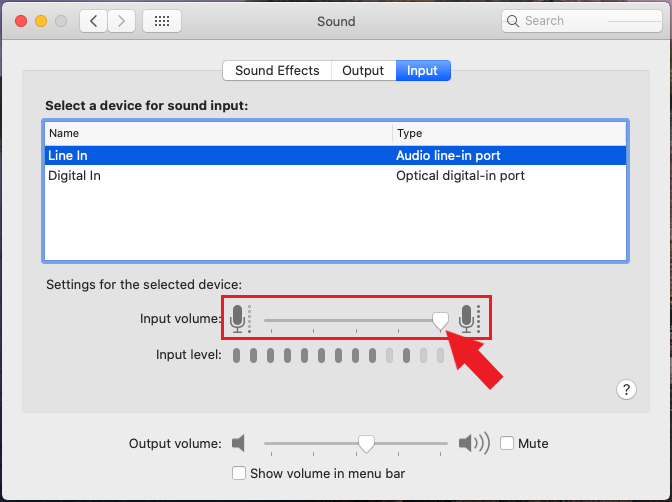
Step 7: Drag the slider all the way to the right, to set the max volume. Now check again if you see bars rising when you talk into the microphone: if you do, your mic is now properly configured. If the microphone still does not work, keep following the instructions.
Step 8: Open the Apple menu and shut down the machine and then turn it back on. This step itself can help solve temporary mic issues.
Solution 2: Resetting the PRAM/NVRAM
Step 1: Shut down the computer from the Apple icon menu and then turn it back on
Step 2: Press and hold the Option, Command (⌘), P and R buttons (all together) immediately after powering on your Mac.
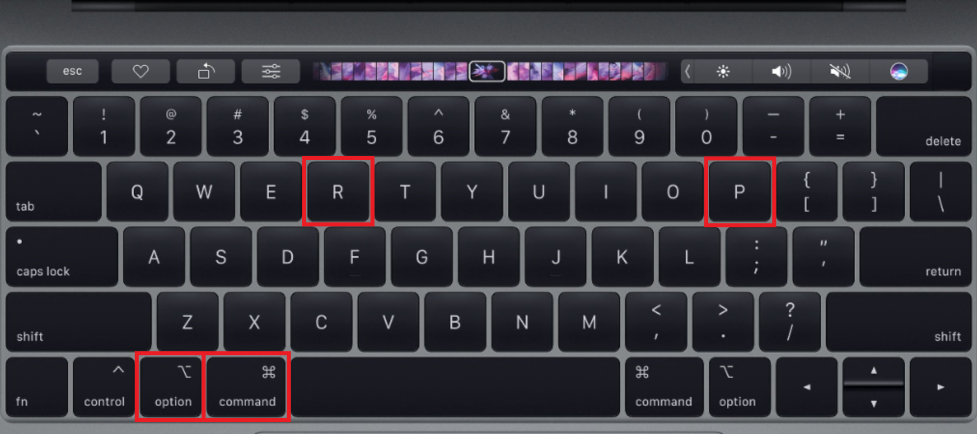
Keep holding the buttons until the computer restarts and you hear the start-up sound again, or until the Apple logo appears and disappears for a second time, which should take about 20 seconds.

Step 3: Once done resetting the PRAM/NVRAM you will need to reconfigure the microphone settings. Go back to the beginning of this guide and follow steps 1-8 of Adjusting Microphone Settings again to test the mic.
Solution 3: Creating a New Account
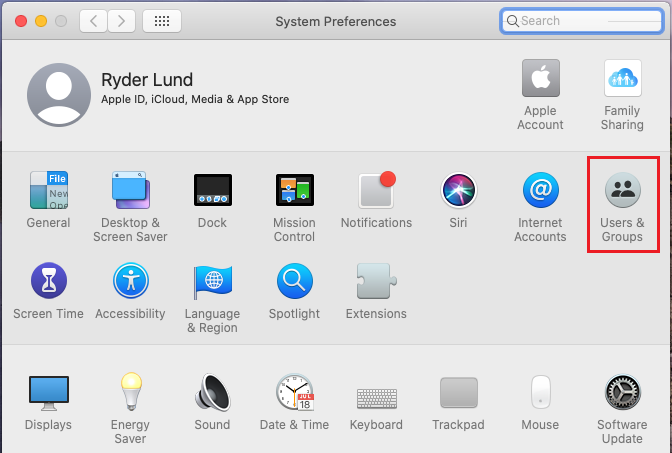
Step 1: As before, click the Apple icon in the top left corner of the screen and then on System Preferences.
Step 2: Once in System Preferences, click on the User & Groups pane as shown in the image to the right:
Step 3: The Users & Groups pane will open. Click on the lock icon to allow making changes.
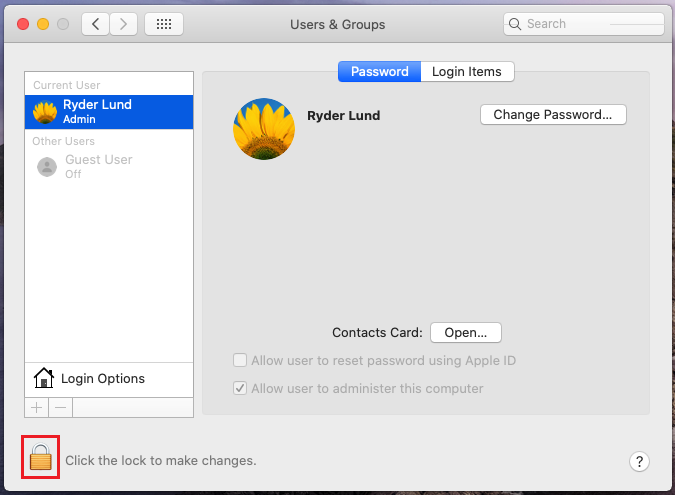
Step 4: A prompt for entering your password will come up. Enter it and then click Unlock.
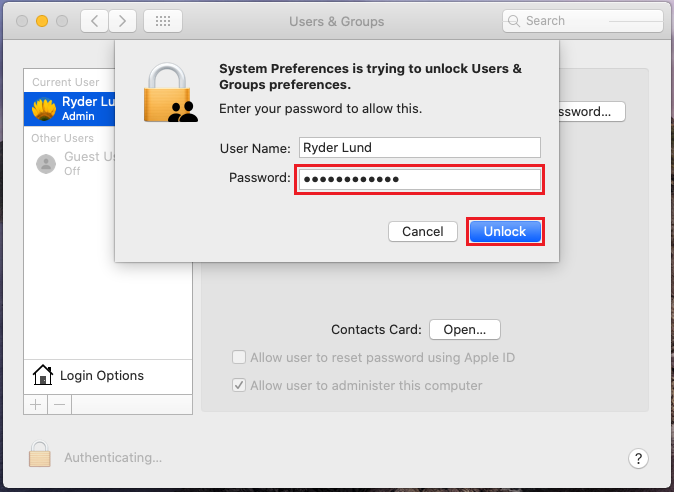
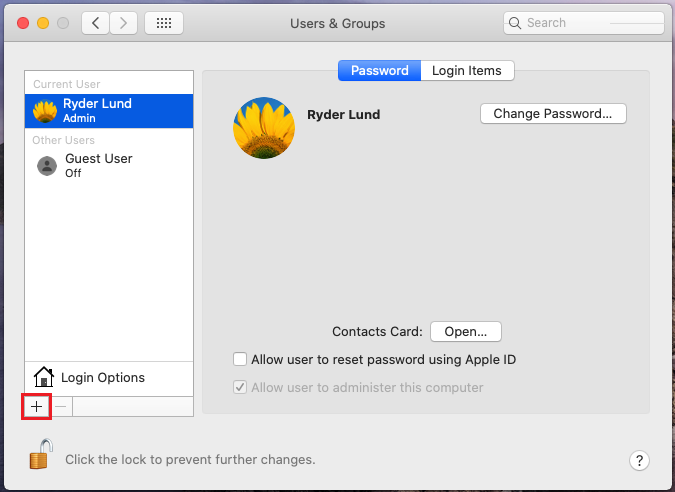
Step 5: Now that you can make changes, click on the + button in the bottom left as shown below:
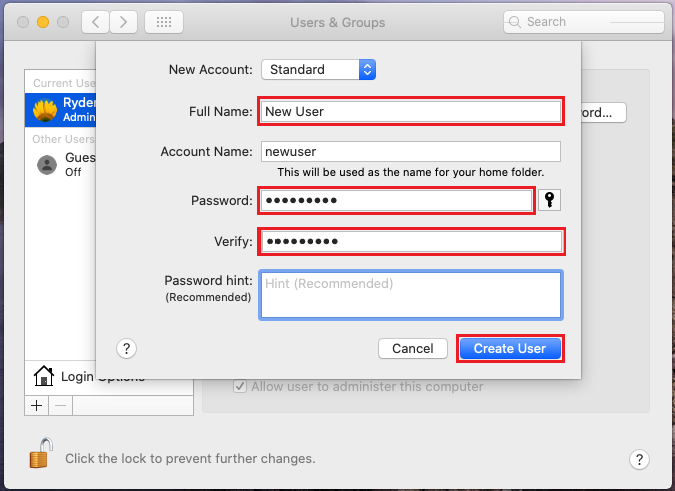
Step 6: A form to fill out for creating a new account will come up. Enter whatever name and password you wish and then click on Create User.
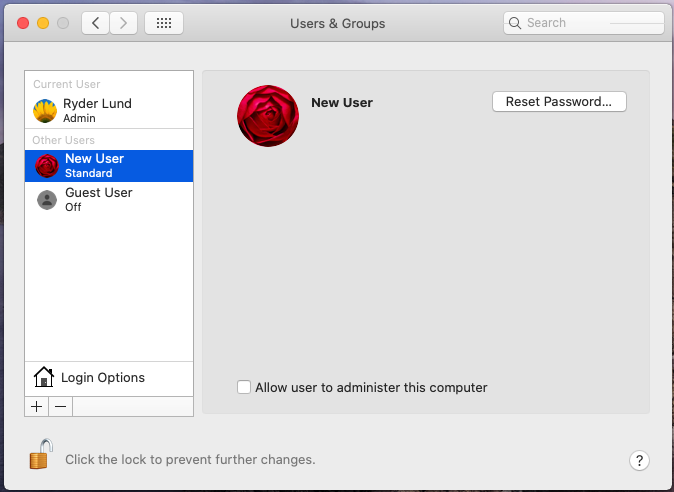
Step 7: Your new account is now done. Log out and then log in again with the new account. You will need to log out from the current account instead of using Fast User Switching.
Step 8: Once you log in with the new account try and test the microphone (follow steps 1-8 of Adjusting Microphone Settings).
Solution 4: Turning on Dictation
Step 1: Click the Apple icon present in the top left corner of the screen and then on System Preferences.
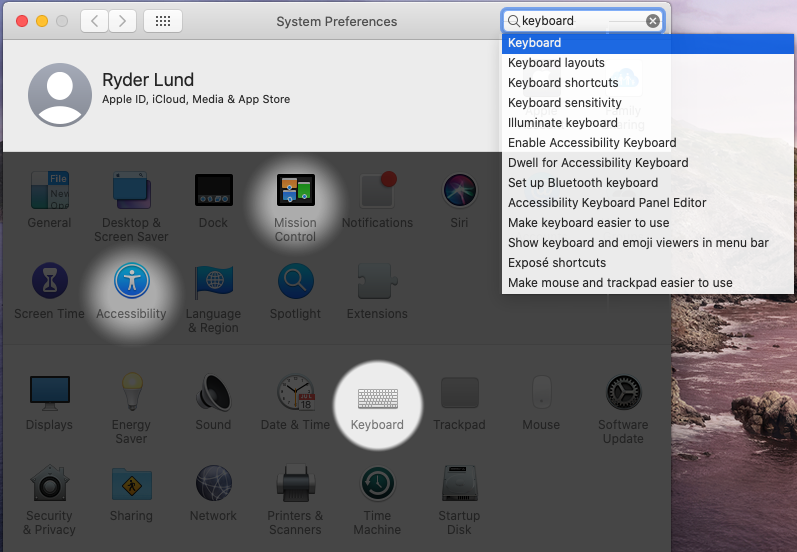
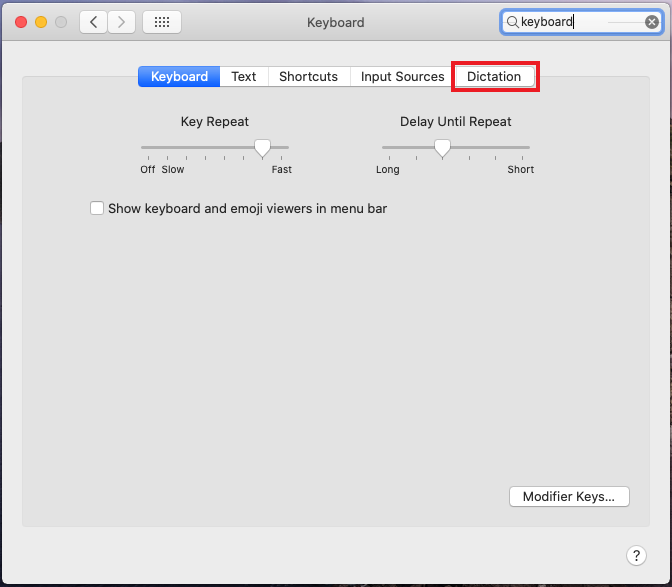
Step 2:Now select Keyboard either by clicking it or by searching for it in the search text box.
Step 3: In the Keyboard window look for the Dictation tab and click on it.
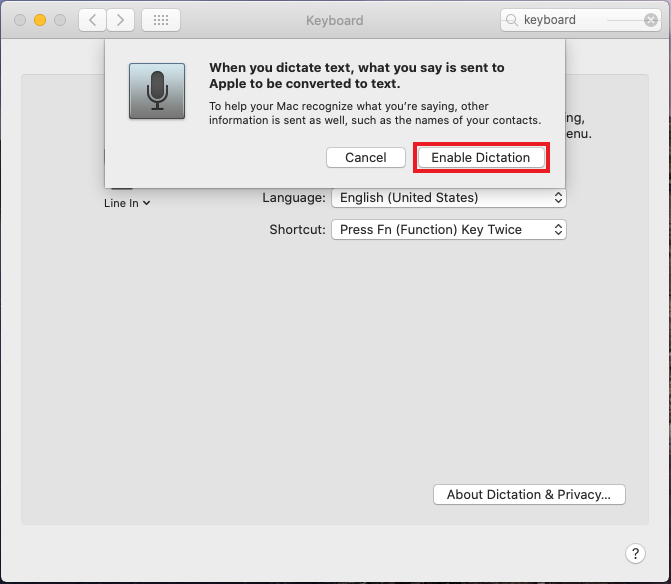
Step 4: A prompt explaining that enabling dictation will send data to Apple will come up. If you are fine with this, click Enable Dictation.
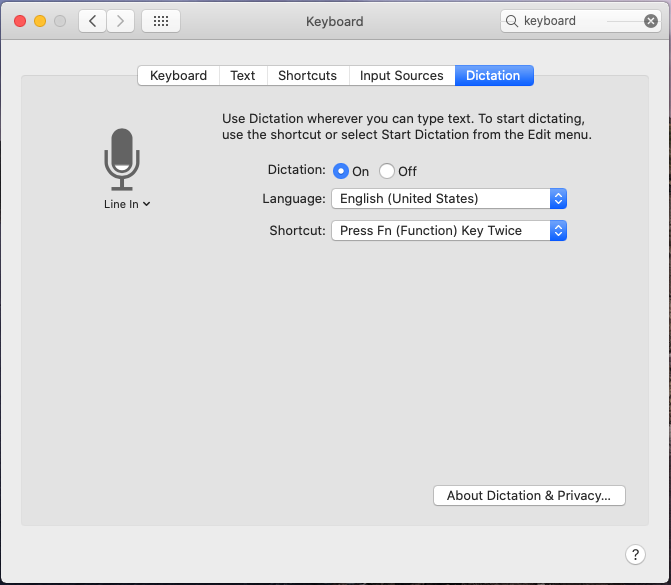
Step 5: Dictation is now enabled. All the relevant files for using dictation and thus the microphone should have downloaded and activated, hopefully allowing you to use it. You should see the level on the microphone icon change as you speak into it.
Solution 5: Fixing App Permissions
Step 1: As in previous solutions, click the Apple icon present in the top left corner of the screen and then on System Preferences.
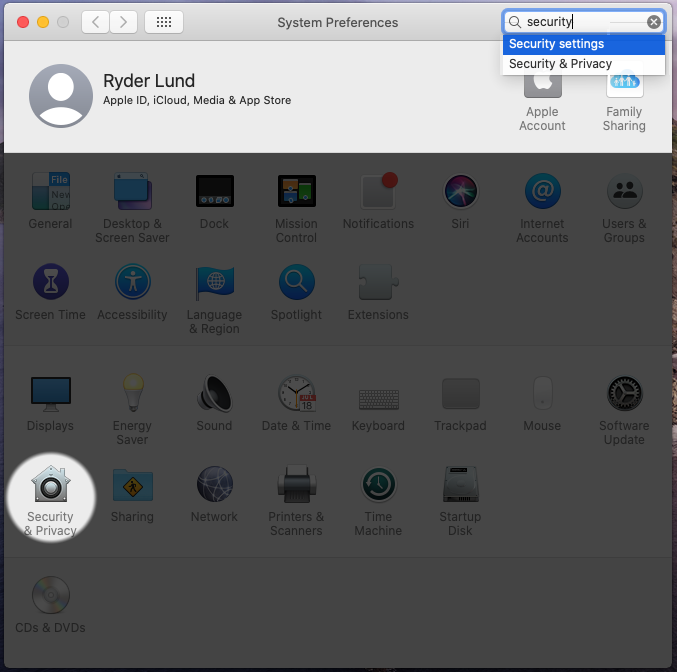
Step 2: From System Preferences go to Security & Privacy by clicking on it or entering it into the search bar.
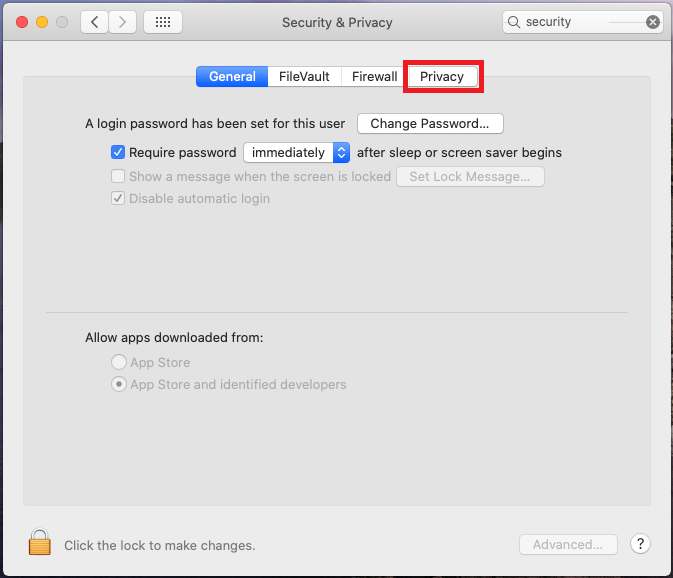
Step 3: Now click on the Privacy tab.
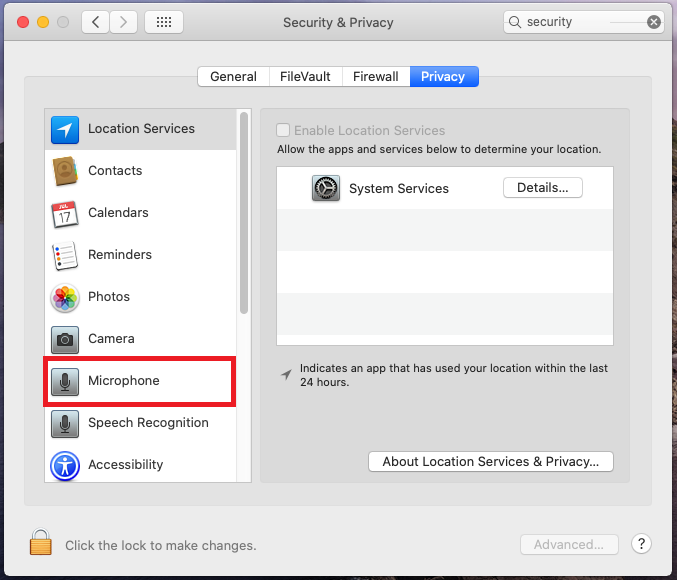
Step 4: Once in privacy settings, click on Microphone on the left. You should now see a list of apps that have access to your mic.
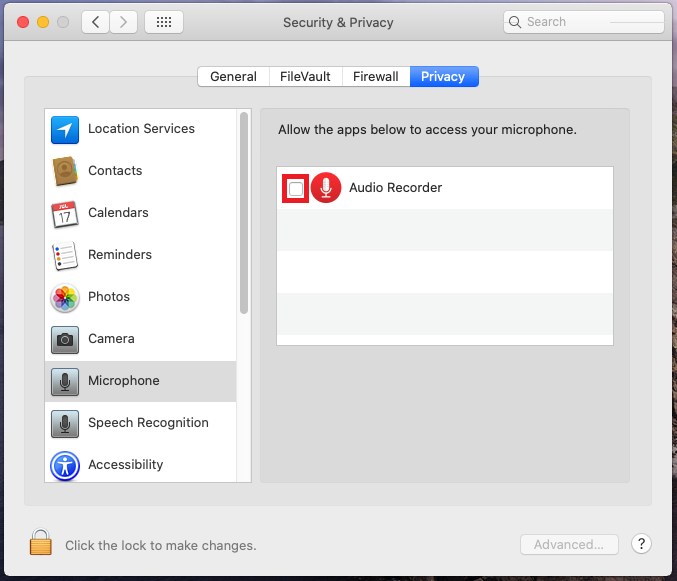
Step 5: Click the check mark next to the one you want to use. If it is already selected, you can try deselecting and reselecting it.
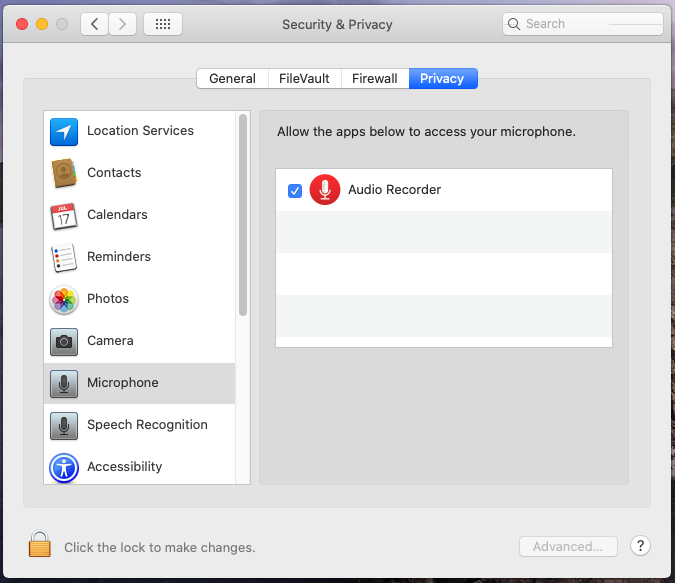
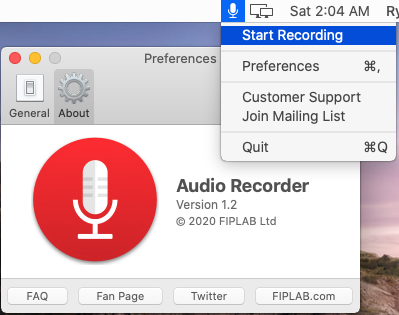
Step 6: Once the app you intend to use is selected(I'm using Audio Recorder as an example) you can exit and try using your microphone with that app.
Solution 6: Entering Safe Mode
Step 1: Shut down your Mac
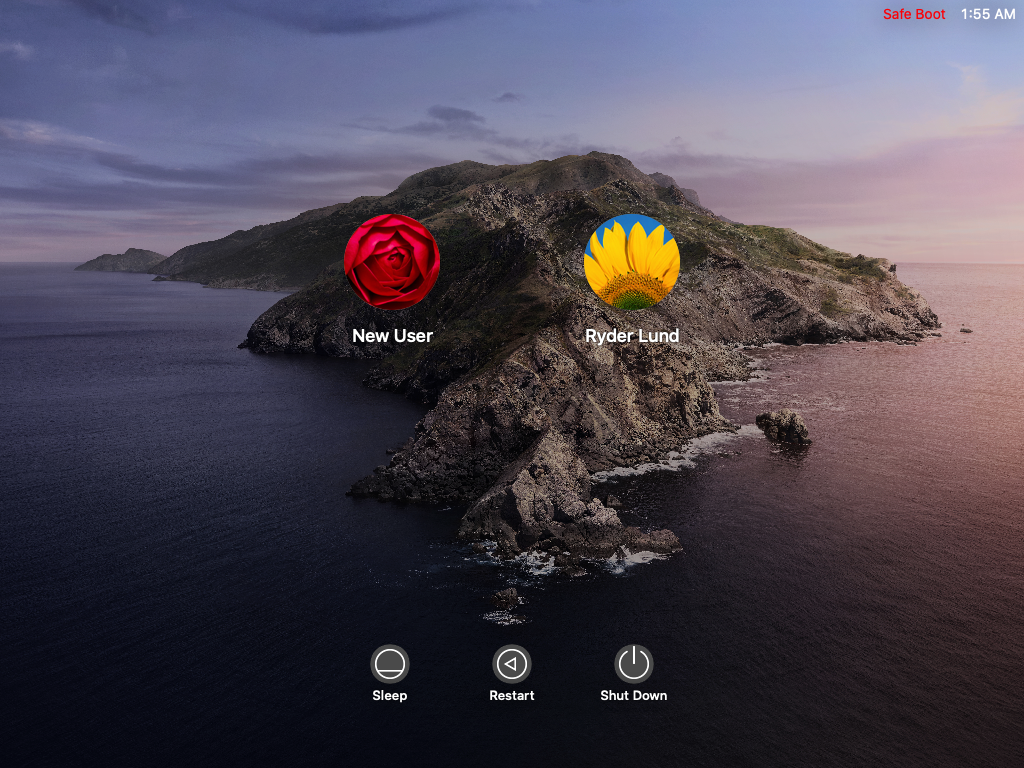
Step 2: Turn your Mac back on and hold the Shift key and keep holding it until the login screen comes up.
Step 3: When it comes up you should see Safe Boot in the top right corner. Sign in to your account and macOS should be in Safe Mode(Safe Boot).
Step 4: Check to see if your microphone is working by using the app you want to(for example, Audio Recorder) or checking the levels in Audio or Dictation from System Preferences.
Step 5: Restart again to get your Mac back to normal and check your mic as in steps 1-8 of Adjusting Microphone Settings again.