
1: Follow these steps to set the settings right
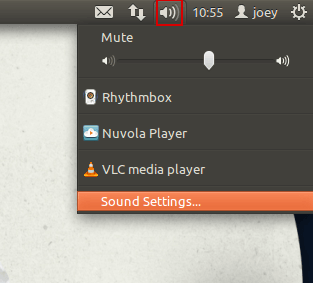
Step 1: Click on the speaker icon on the menu bar and select Sound Settings as shown in the image below:
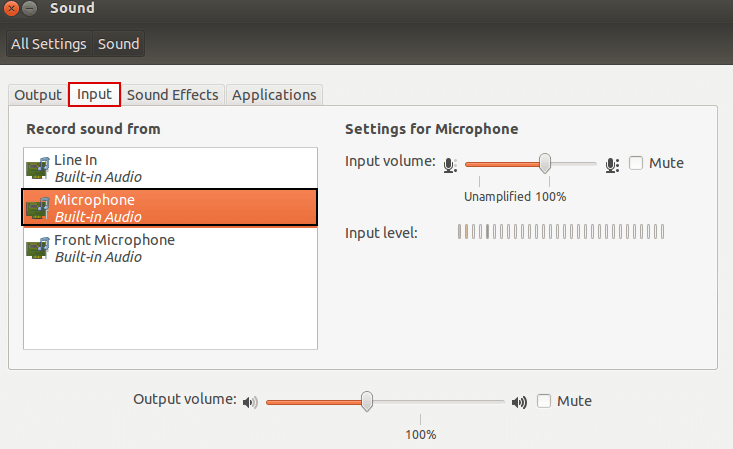
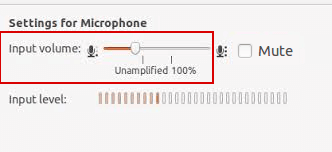
Step 2: Select Input tab.

Step 3: Select the applicable device under Record sound from.
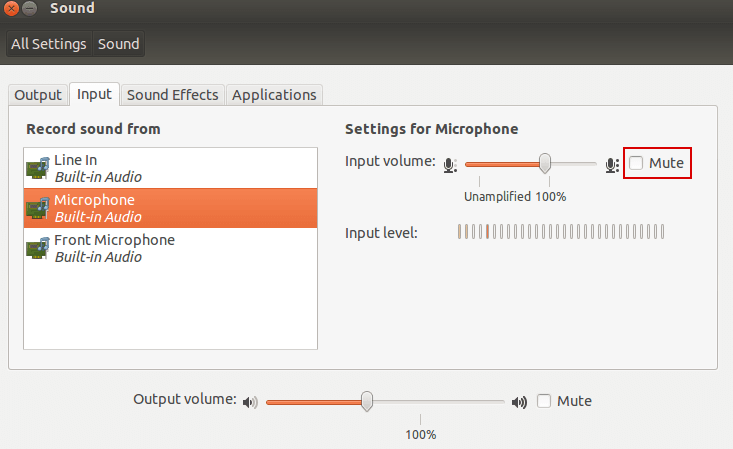
Step 4: Make sure that the device is not on mute.
Step 5: Try speaking into your microphone and look for orange bars rising while you talk (see screenshot).
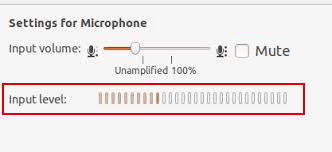
Step 6: If the orange bars are rising while you are speaking that means your microphone is properly configured (what to do if my microphone still isn’t working, even though you say it’s properly configured?)
Step 7: If the orange bars are not rising while you are speaking into the mic, keep following the instructions.
Step 8: Drag the slider all the way to the right to increase the input volume (see screenshot).
2: Set default device
Step 10: Open a terminal window (Ctrl+Alt+T) and then run the gstreamer-properties.
Step 11: Change the settings under Default input to fit the correct microphone.
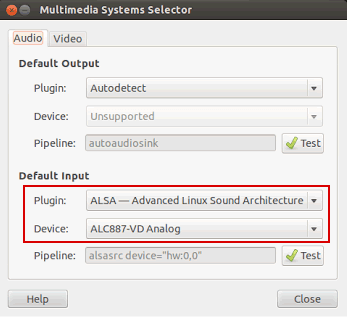
Step 12: Check for the orange bars again in the sound settings.
3: What to do if you did see orange bars moving but your microphone still isn’t working in some program
If that is the case it means that your mic is working and is being picked up correctly by the operating system. You can verify that using our microphone test. The problem is now with the program that you're using.
It might be listening to the wrong microphone, or maybe its input volume is set too low. Try tinkering with the program's settings yourself, and if you don't succeed in making it work with the mic, try contacting the program's support team.